

Приемник Matek Mateksys ExpressLRS ELRS R24-P6 2 4G RX SX1281 наноприемник дальнего действия ШИМ 20 мм x 18
Сохраните в закладки:


История цены
*История изменения цены! Указанная стоимость возможно, уже изменилось. Проверить текущую цену - >
| Месяц | Минимальная цена | Макс. стоимость | Цена |
|---|---|---|---|
| Sep-16-2025 | 4141.97 руб. | 4348.7 руб. | 4244.5 руб. |
| Aug-16-2025 | 4106.50 руб. | 4311.74 руб. | 4208.5 руб. |
| Jul-16-2025 | 3445.75 руб. | 3617.96 руб. | 3531 руб. |
| Jun-16-2025 | 4037.88 руб. | 4239.50 руб. | 4138 руб. |
| May-16-2025 | 3515.9 руб. | 3691.19 руб. | 3603 руб. |
| Apr-16-2025 | 3967.91 руб. | 4165.4 руб. | 4066 руб. |
| Mar-16-2025 | 3932.19 руб. | 4129.29 руб. | 4030.5 руб. |
| Feb-16-2025 | 3898.31 руб. | 4093.55 руб. | 3995.5 руб. |
| Jan-16-2025 | 3863.21 руб. | 4056.55 руб. | 3959.5 руб. |
Новые товары
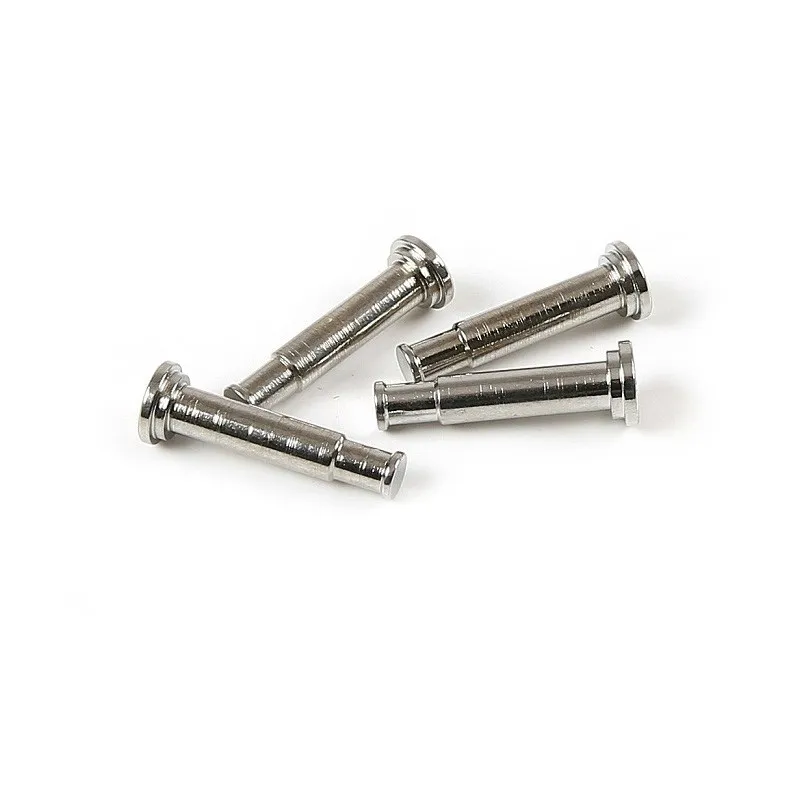
Спереди Колеса Подшипника Сиденья Удерживающий Пин для 1/5 Rovan F5 MCD XS-5 RR5 Грузовик Rc Автозапчасти.
774.9
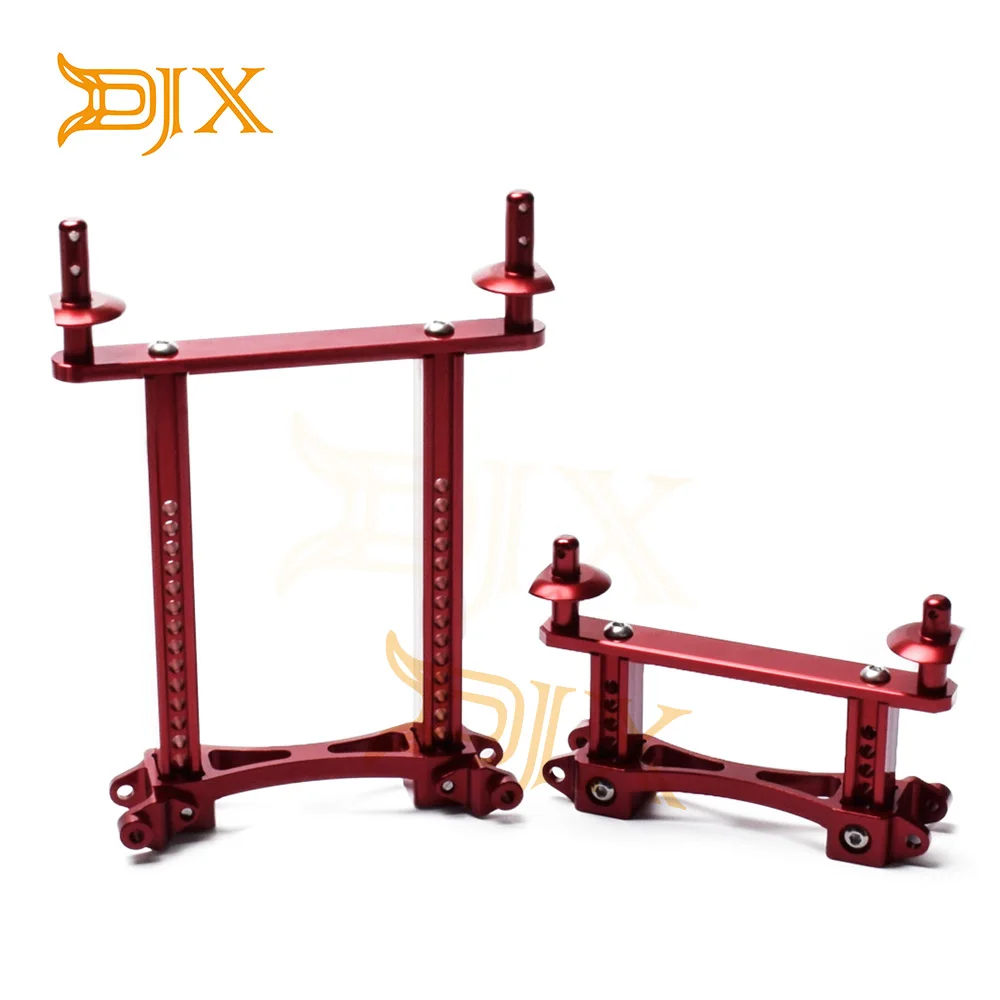
Корпус для автомобиля с ЧПУ из сплава колонка 1/10 RC Crawler Car Defender Traxxas TRX4 - купить по
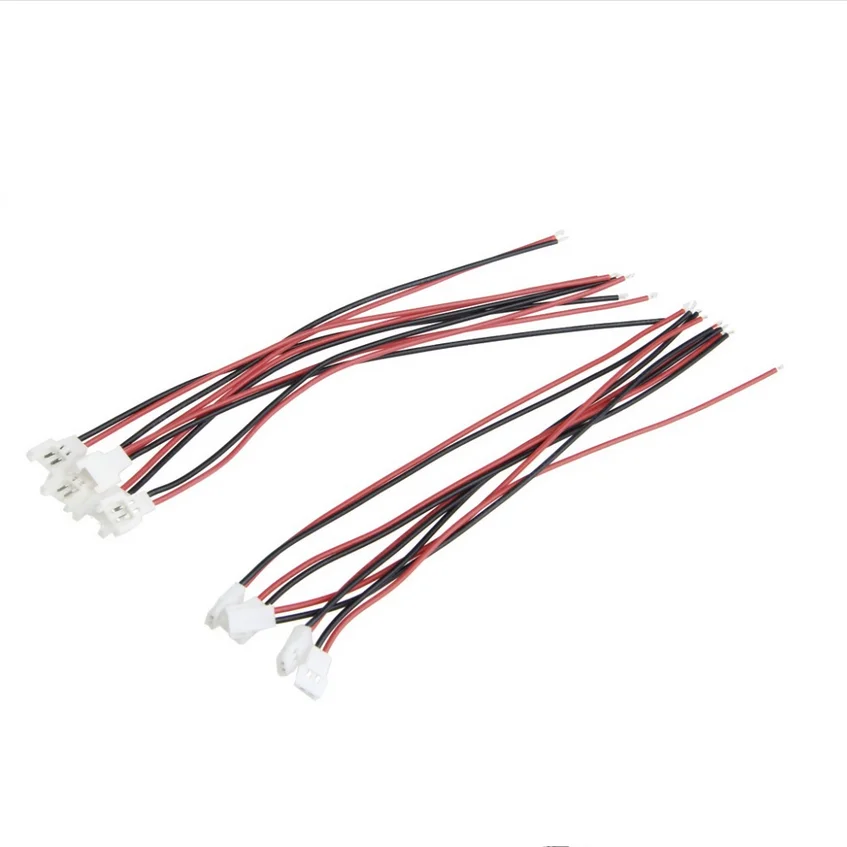
Набор мини-соединителей Pigtail Losi Style 5/10 JST-DS LOSI 2.0MM 2-контактный разъем штекер-гнездо мужской-женский с проводом 26awg 100 мм для подключения RC-батареи.
478.06
Betaflight F4 Pro V3 Плата контроллера полета с встроенным барометром, OSD и слотом для TF-карты для FPV квадрокоптера.
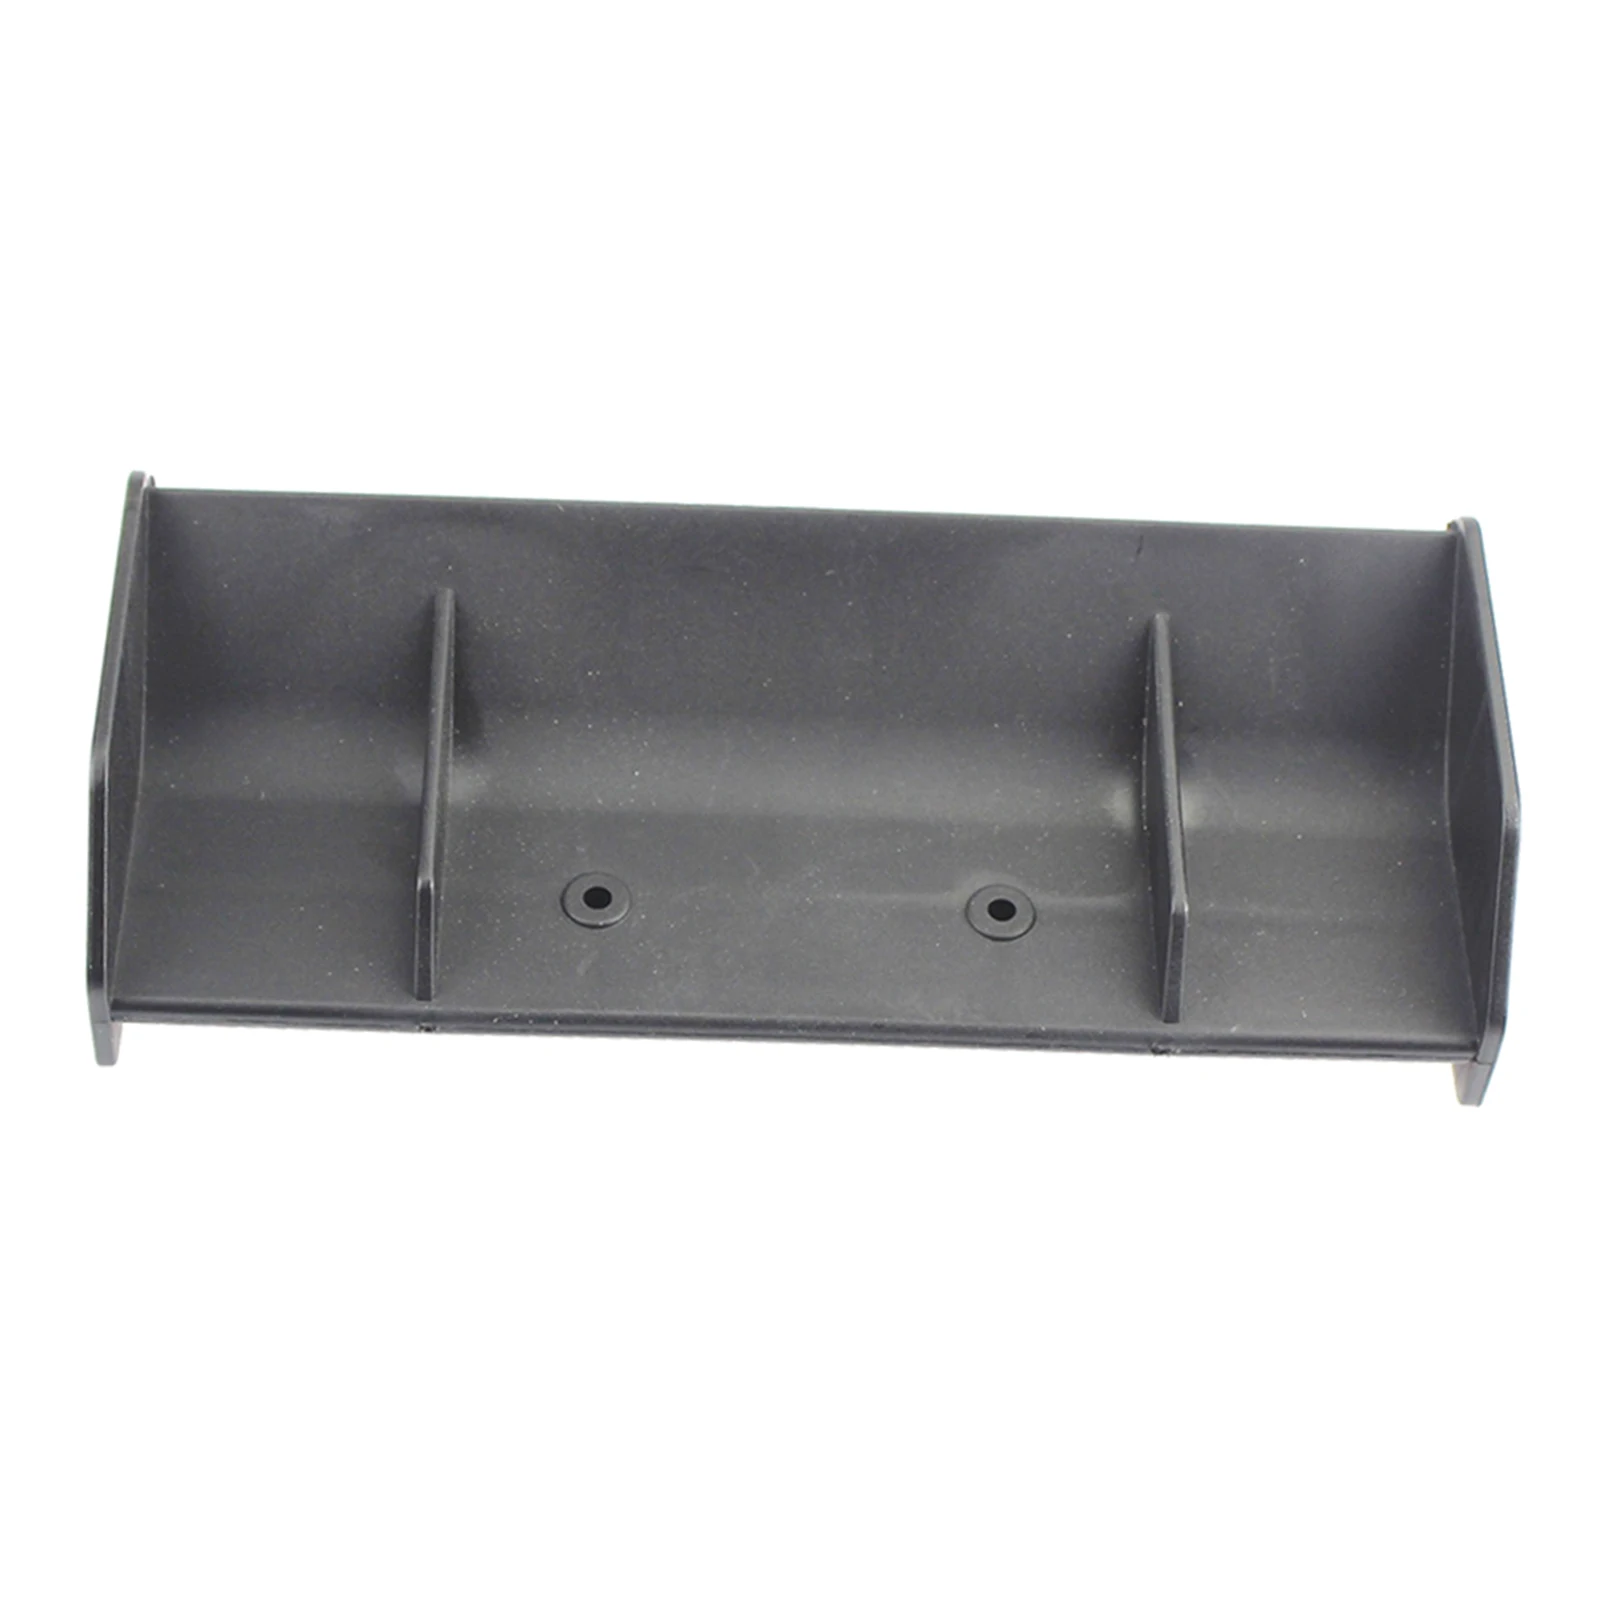
Задний спойлер для радиоуправляемого кузова хвостовое крыло задний масштаба 1/12
101.68

Модуль передатчика FrSky IRX4 LITE 2.4G 4 в 1 мультипротокольный настройщик с антенной для X-Lite Walkera FlySky FS DSM2 SFHSS TBS.
4131.98

Русский перевод: 1 шт. труба/трубка из углеродного волокна 10 мм внешнего диаметра и 6 мм внутреннего диаметра, длиной 500 мм, 3k, 100% состоящая из углеродного волокна (обернутая рулоном) для квадрокоптера/гексакоптера модели.
1348.9
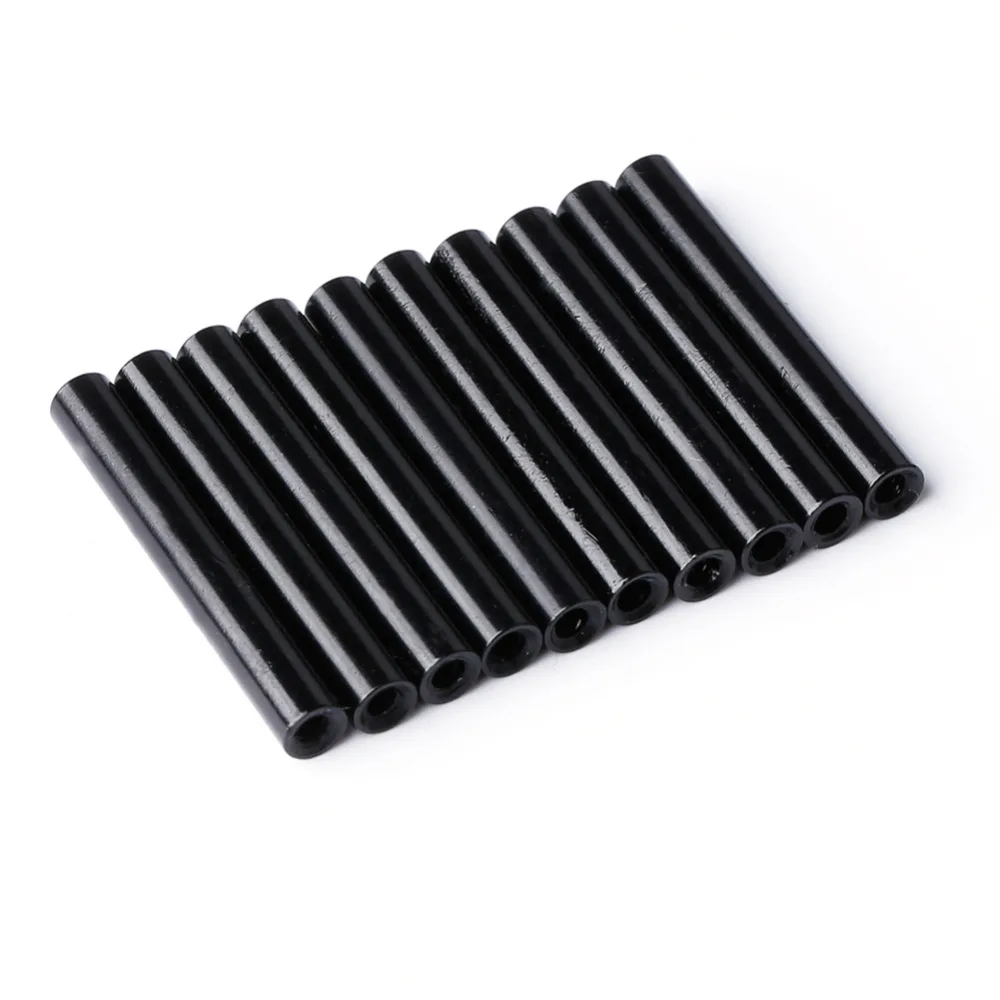
20 шт. M2*19 мм Круглые алюминиевые колонны-стойки для крепления стойки стоек квадрокоптера FPV RC на раме.
Характеристики
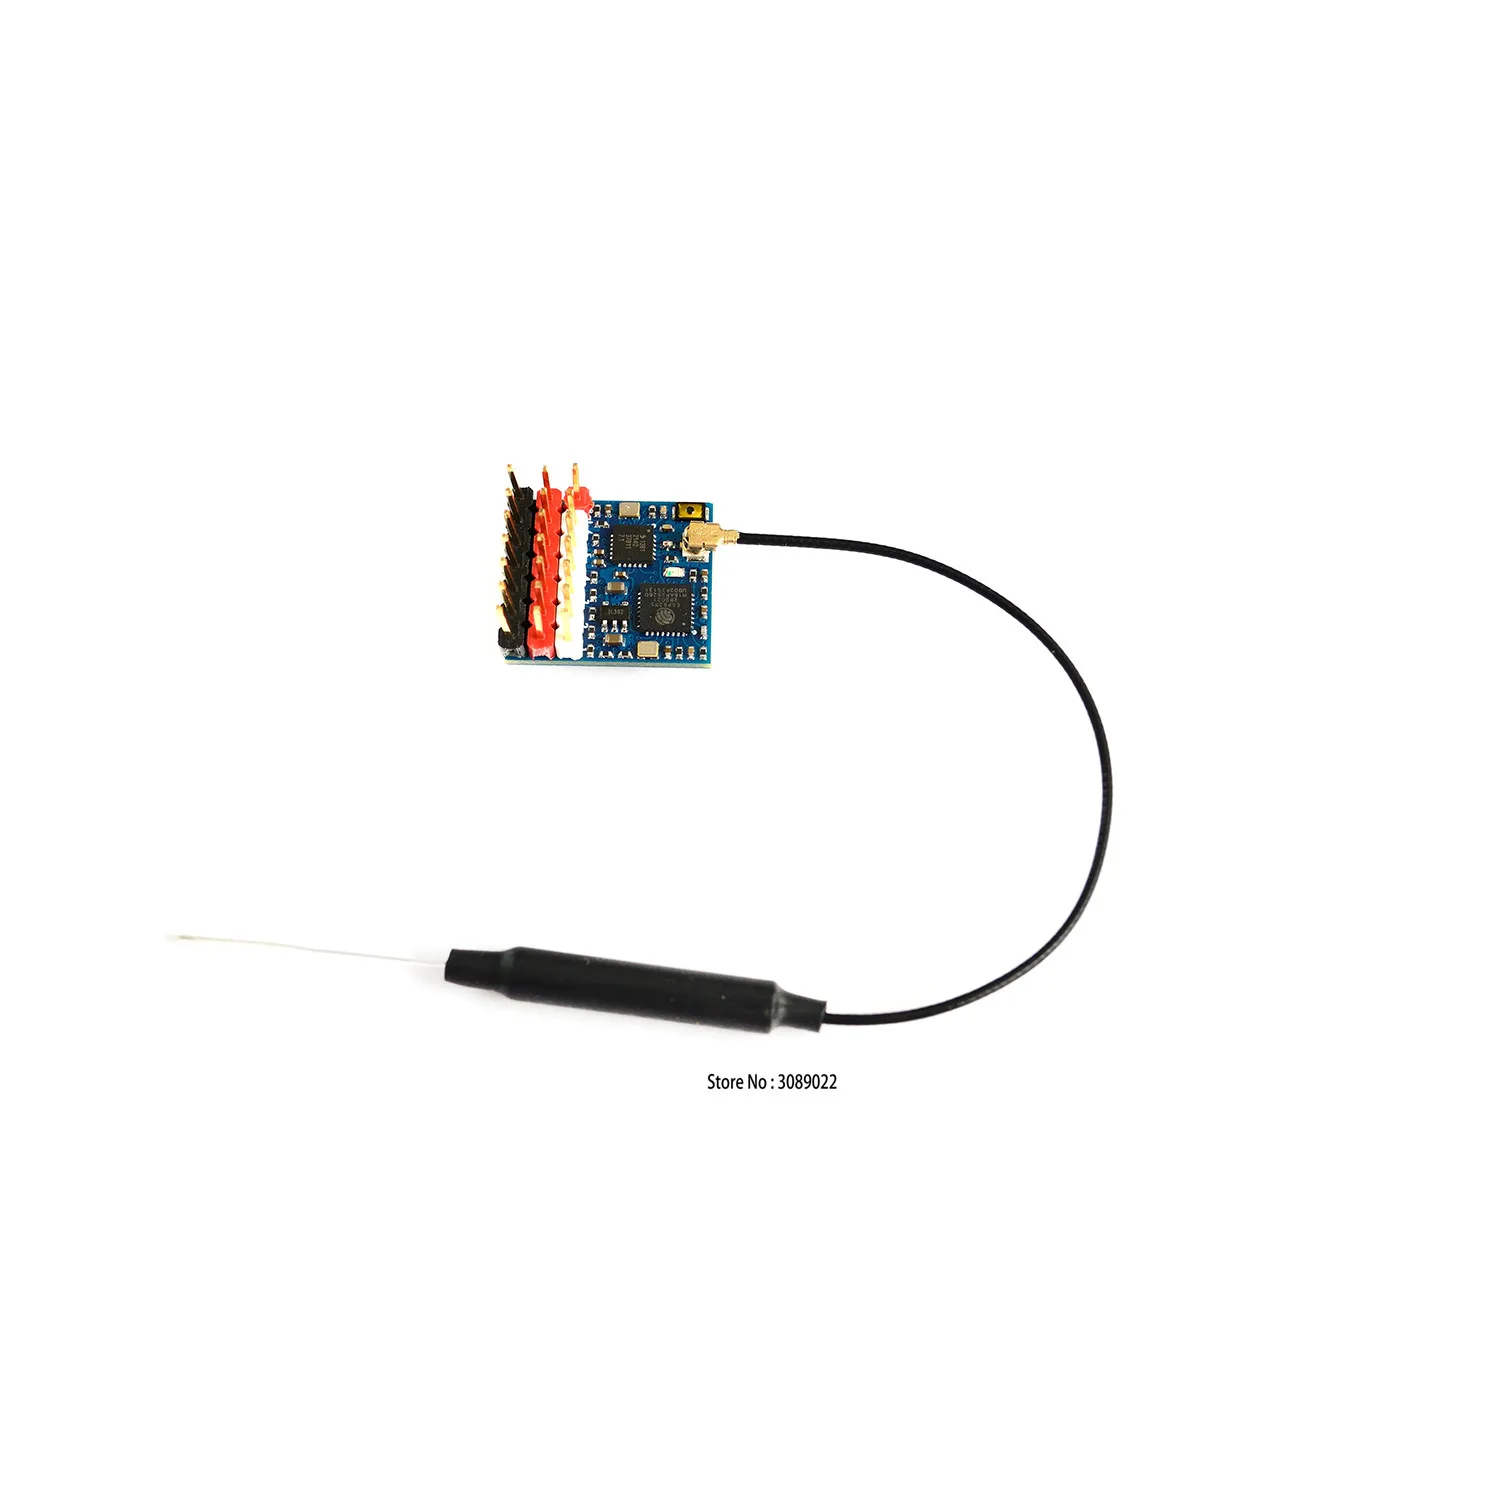
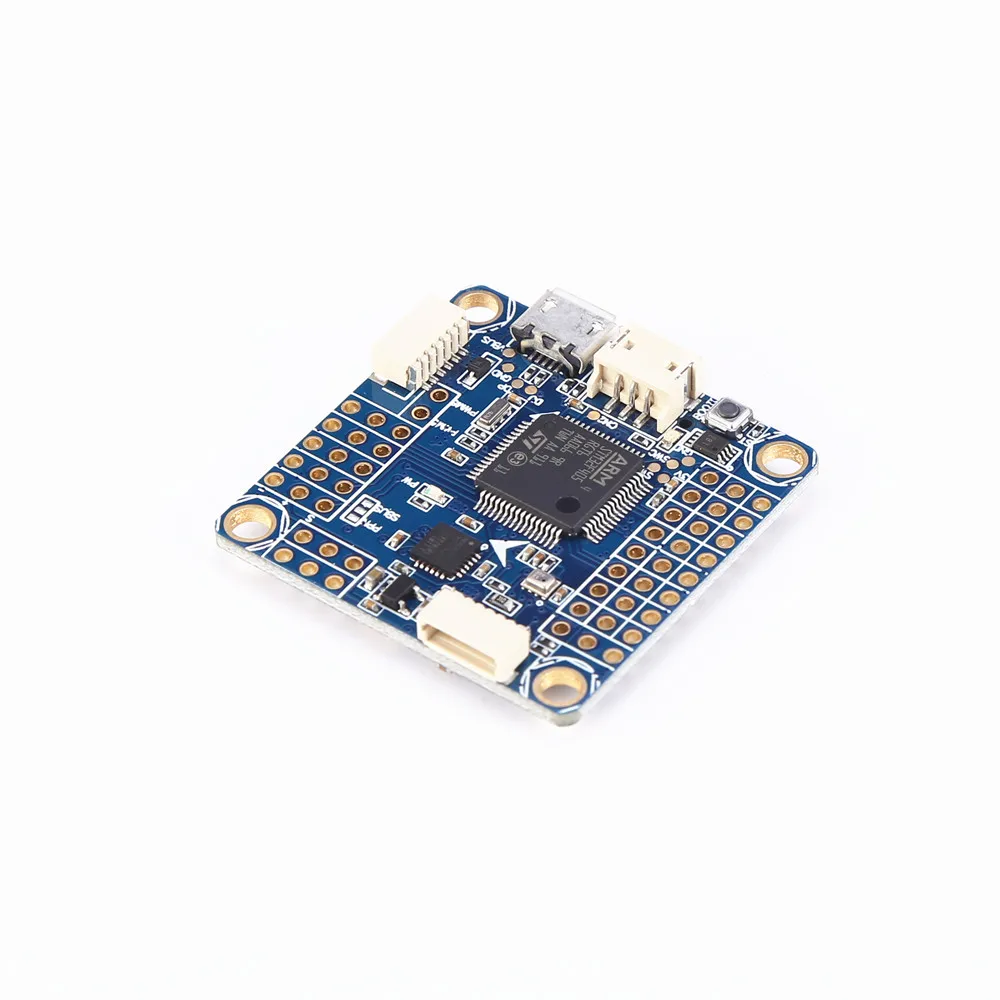
Приемник Matek Mateksys ExpressLRS ELRS R24-P6 2 4G RX SX1281 наноприемник дальнего действия ШИМ 20 мм x 18
Описание товара
Описание![]()
![]()
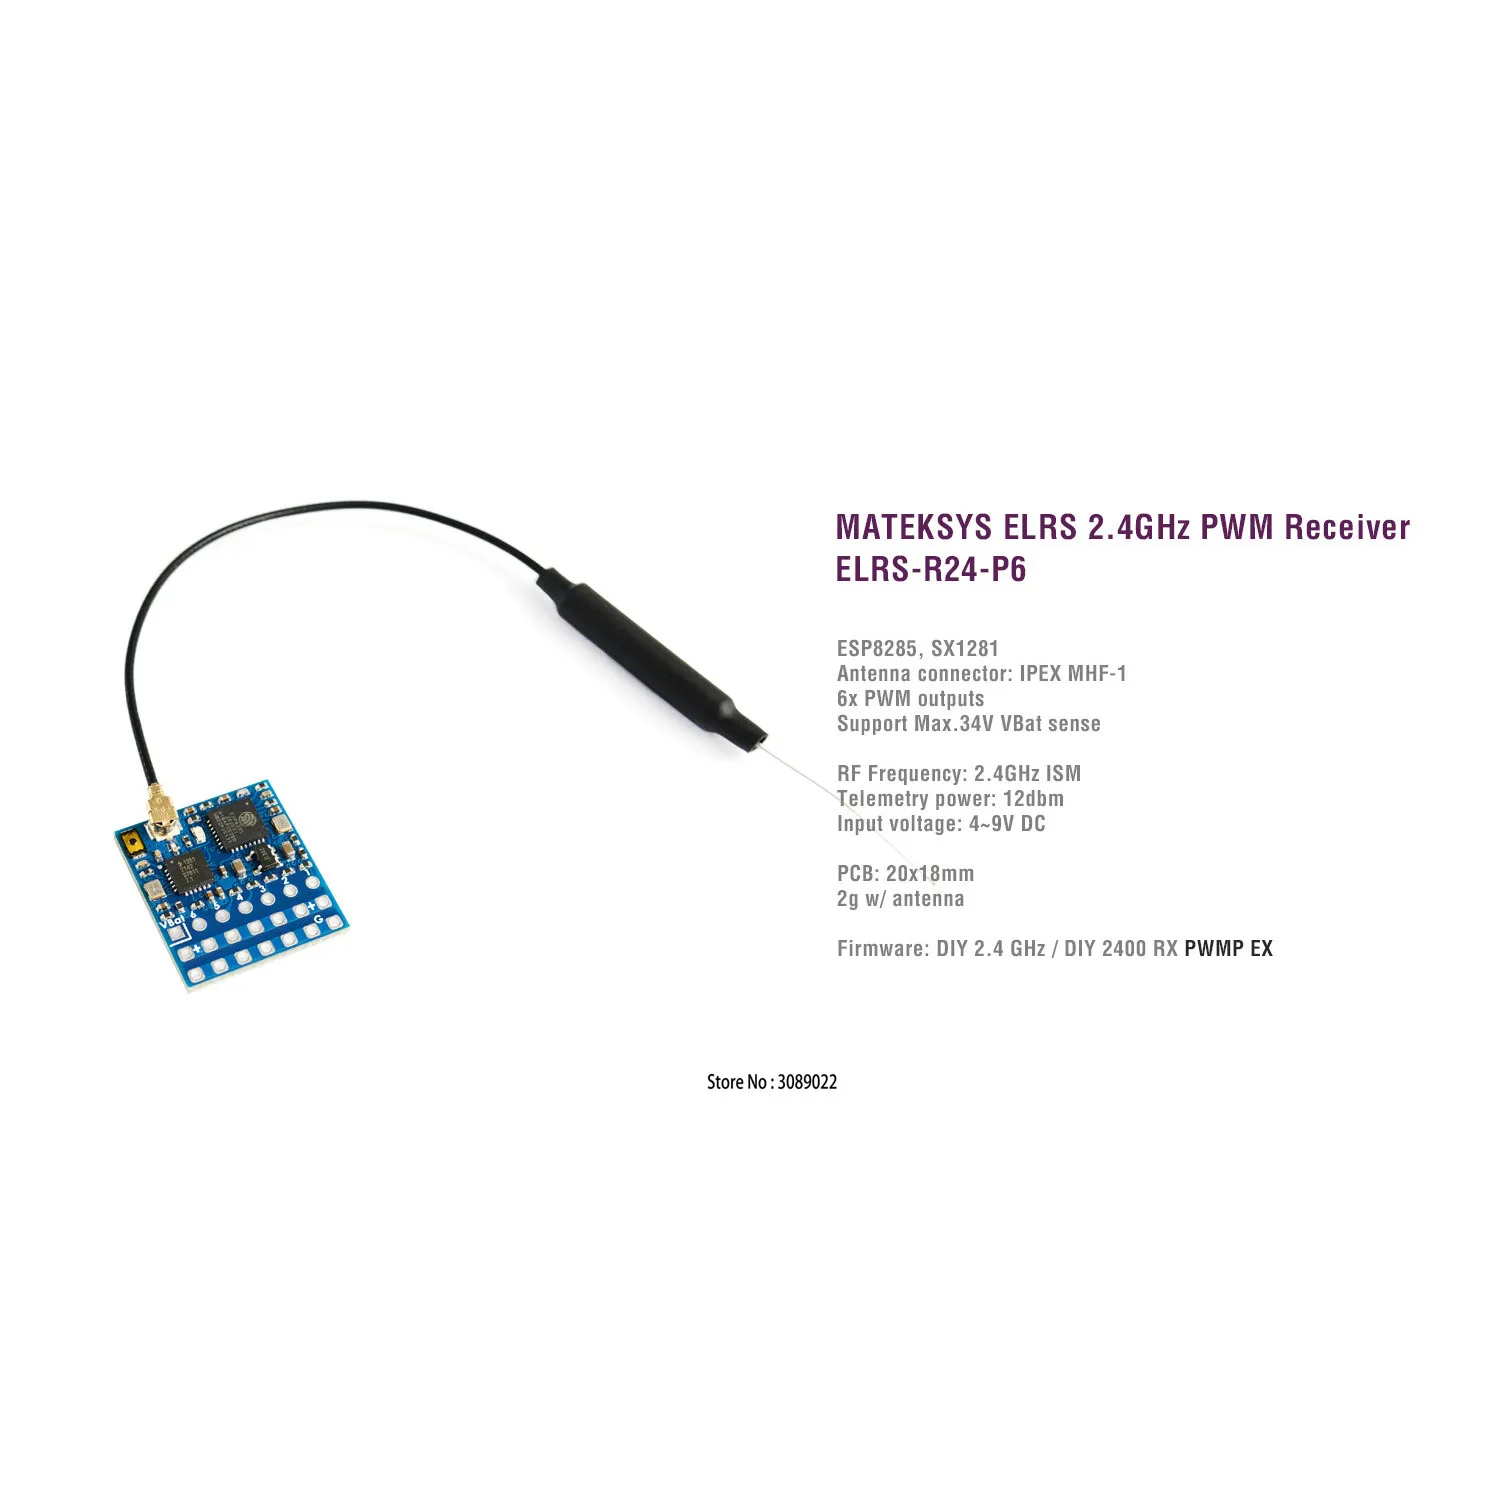
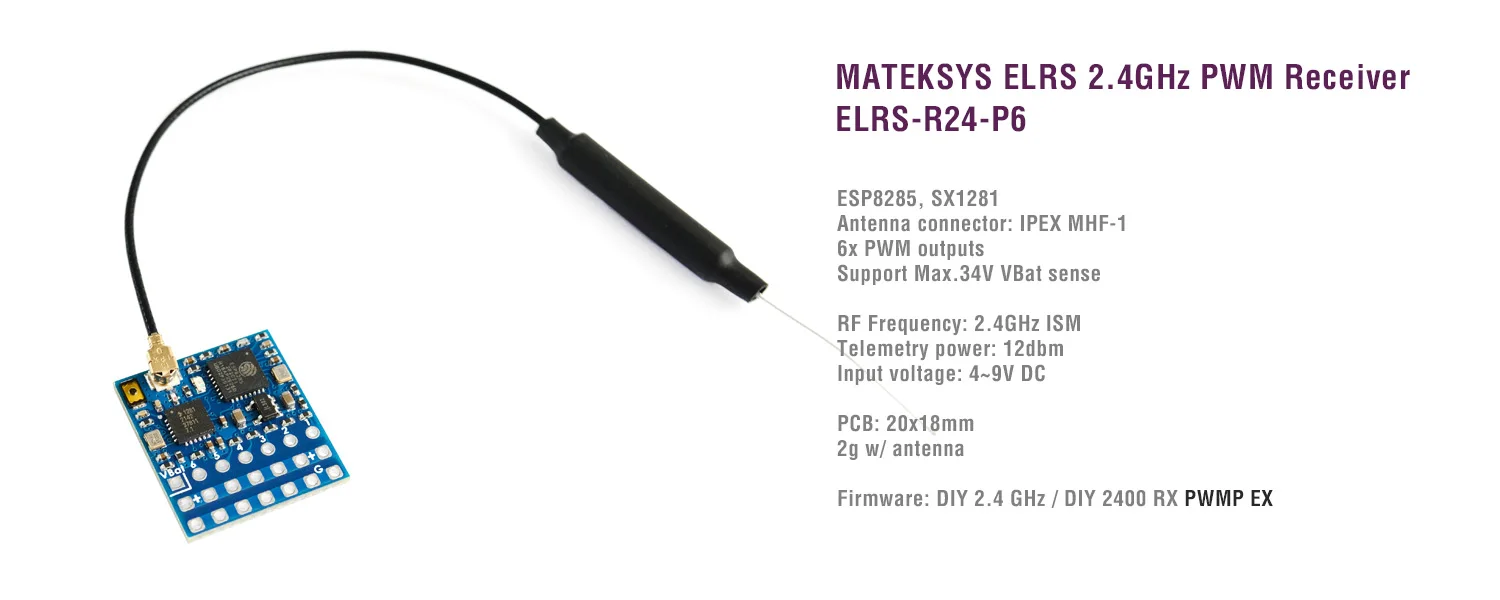
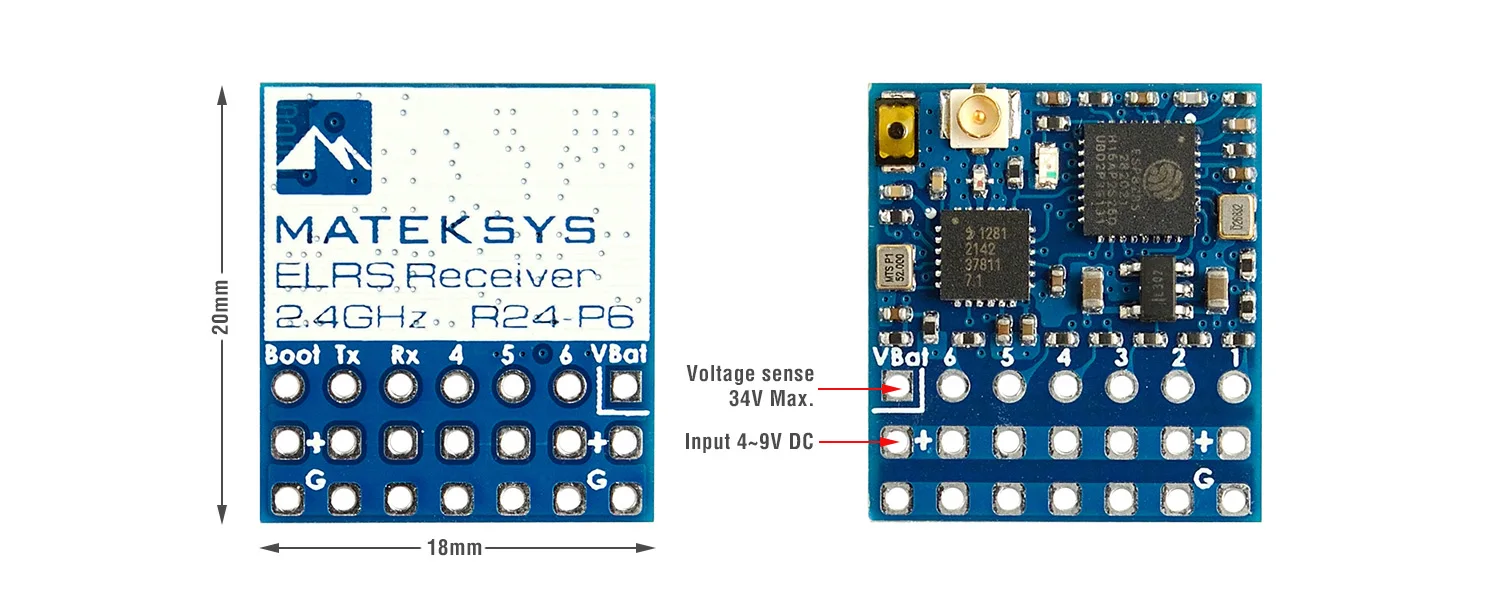
Specifications
ESP8285, SX1281
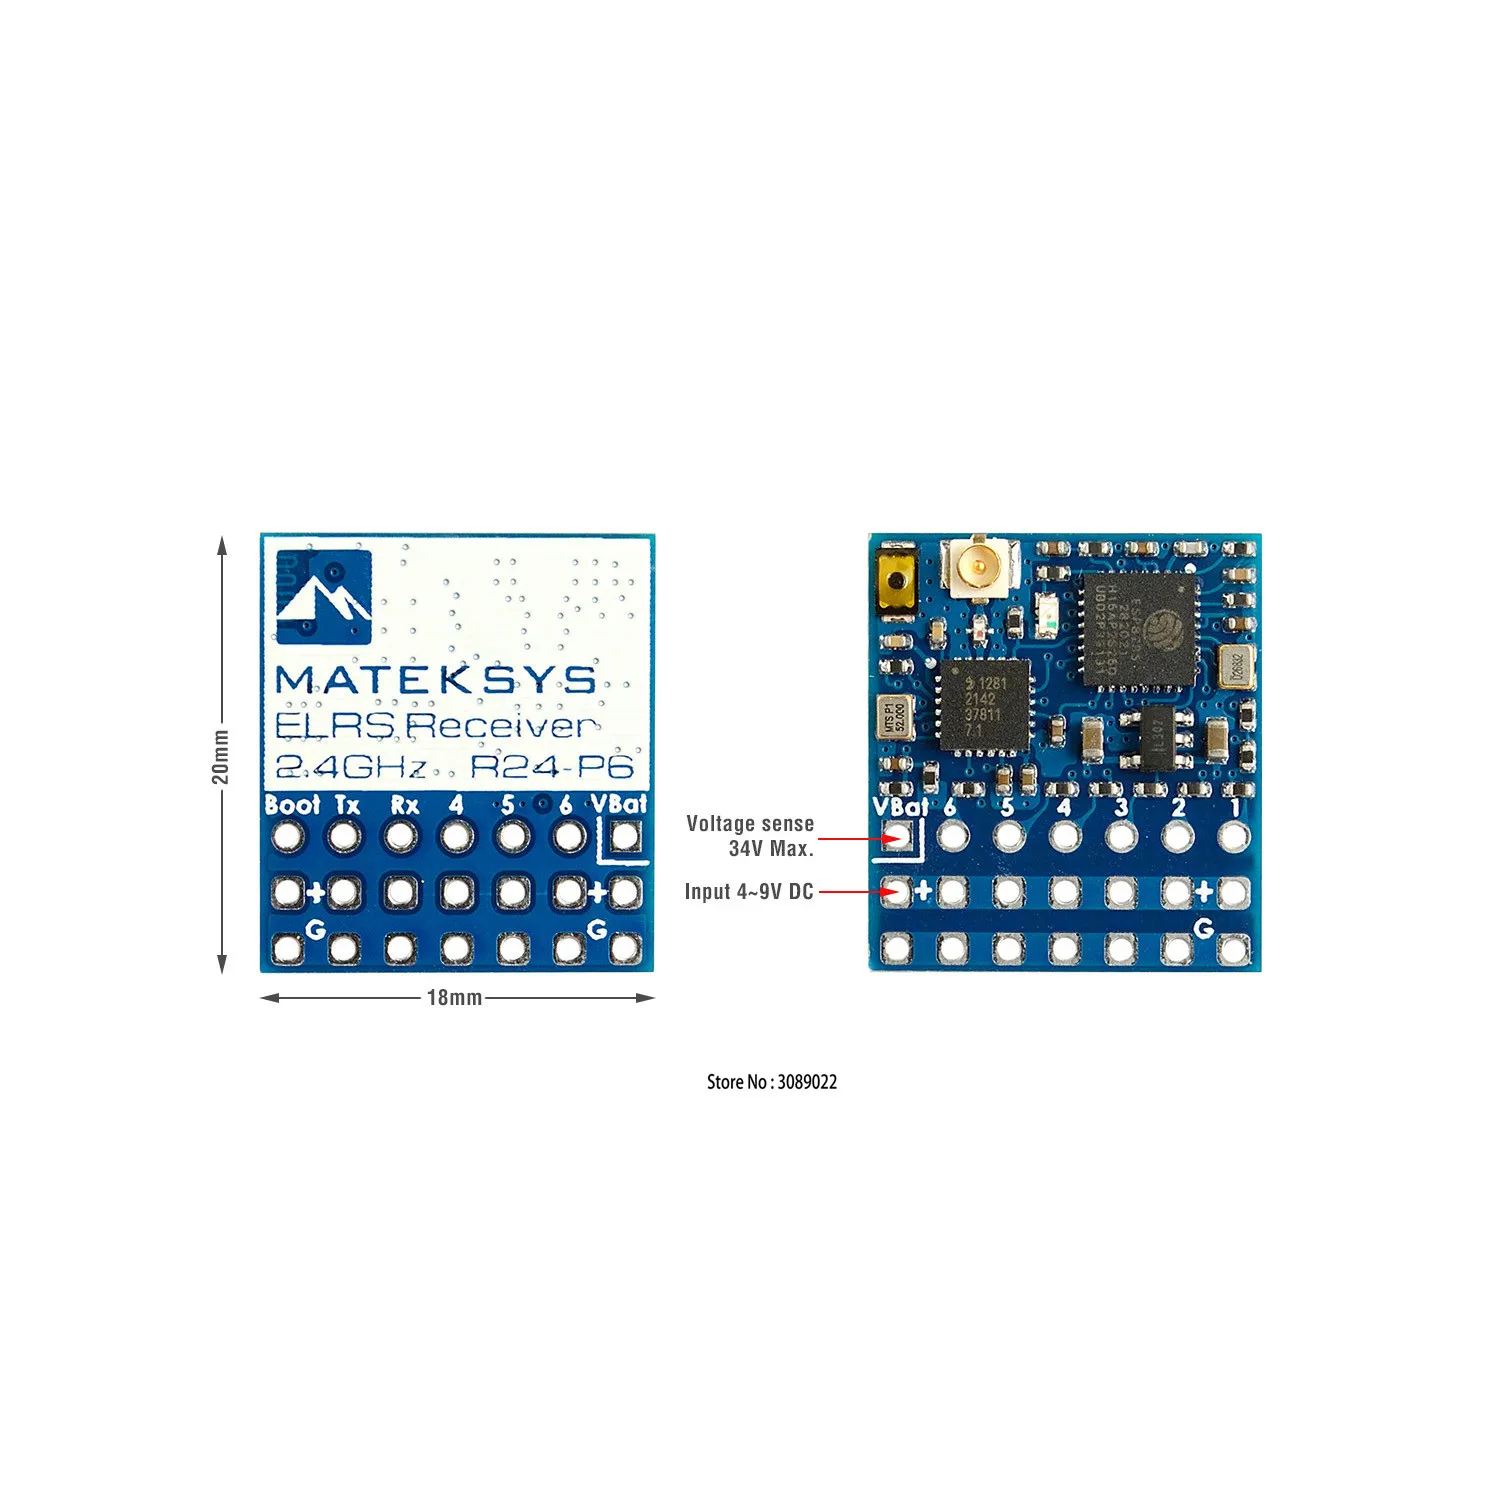
Antenna connector: IPEX MHF 1
6x PWM outputs
Support 2~8S VBat voltage sense
RF Frequency: 2.4GHz (2400~2480MHz)
Telemetry power: 12dbm
Receiver output protocol: PWM
Input voltage: 4~9V DC @ “+” pad
Voltage sense: 34V Max. @ “VBat” pad
Power dissipation: 45mA(binding), 85mA(wifi mode)
PCB size: 20mm x 18mm
Weight: 2g w/ antenna
Packing:
1x ELRS-R24-P6
1x IPEX MHF1 Antennas. 15cm
Dupont 2.54 pins (Board is shipped unsoldered)
Firmwares
ExpressLRS 3.0 or newer, DIY 2.4 GHz / DIY 2400 RX PWMP EX
ExpressLRS wiki for PWM receiver, Click
HERE
Make sure Receiver and TX module both are running ExpressLRS 3.0 or newer
——————————————————-
Receiver has ExpressLRS 3.0 preloaded with binding phrase “123456”, the Receiver will never enter binding mode if using the traditional binding procedure.
You need to reflash it with your binding phrase OR go into WebUI to set your binding phrase.
Flashing via Wifi
Disconnect ESC and servos from receiver first.
Power on receiver by 5V source. Receiver’s LED(Red) will blink slow at first, and after 20s, it should blink fast indicating it’s on Wifi Hotspot Mode.
More detailed steps, pls refer
this page
.
Target: DIY 2.4 GHz / DIY 2400 RX PWMP EX
Flashing via UART
Disconnect ESC and servos from receiver first.
Wire the receiver into the USB-TTL adapter, with TX on receiver connected to the Rx on the USB-TTL, and RX on receiver connected to the Tx of the USB-TTL. Wire 5V and GND of the USB-TTL to 5V and GND of the Receiver.
Press the boot button while powering on the receiver, then release – the Red LED on receiver should now be solid.
Select the target DIY 2.4 GHz / DIY 2400 RX PWMP EX and “UART” for Flashing Method, set your bind phrase and
Firmware Options
and once done, click on Build and Flash.


Трекер стоимости
Отзывы покупателей
Новые отзывы о товарах

Арина 23 Декабря 2021, 17:58 #
Заказала себе сумку через сайт alisalebay.ru,заказом осталась довольна. Товар пришел через две недели. Такая же как и представляла,очень компактная,... Читать отзыв полностью...

Станислав 23 Декабря 2021, 13:45 #
Решил заказать для своей дочки платье на Новый Год. Приглянулось данный товар. Доставку ждал около трех месяцев, главное, что пришел... Читать отзыв полностью...

Ольга 23 Декабря 2021, 11:05 #
Добрый день! Заказывала блузку через сайт alisalebay.ru.Меня удивила очень быстрая доставка, я не ждала полтора месяца, как это обычно... Читать отзыв полностью...

Лиана 19 Декабря 2021, 13:43 #
Давно хотела заказать что нибудь с Алика,вот и увидела это безупречное кольцо. Заказала кольца позолоченные и себеристый. Я... Читать отзыв полностью...


Светлана Игоревна Соколовская 18 Декабря 2021, 21:39 #
Купила эту толстовку мужу в подарок на Новый Год. Качество достаточно хорошее. Приятное к телу. После стирки ткань никак... Читать отзыв полностью...

Покупал рюкзак дочери, чтобы она ходила в школу. Заказал в мае, а пришёл товар где-то в августе. Качество рюкзака удовлетворительно�... Читать отзыв полностью...